
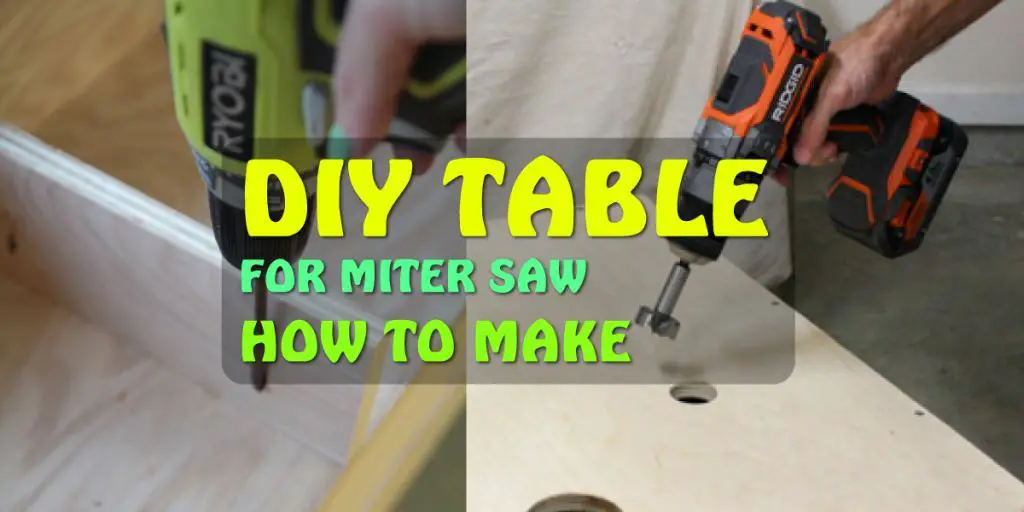
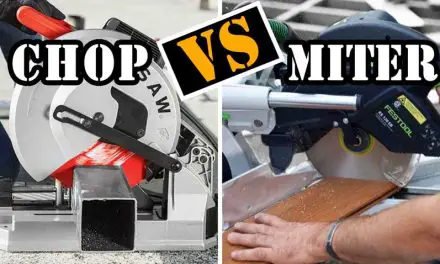
Only having a miter saw stand is not everything for your miter saw. On your excellent woodworking journey and amazing cutting experience, you also need a workstation. For your simple workstation, sometimes you need unique plans for miter saw table. Today we are going to give you step-by-step ideas about how you make a DIY table for a miter saw. So stay with us to see our DIY miter saw table plans.
DIY MITER SAW TABLE PLANS:
-
Platform base Production:
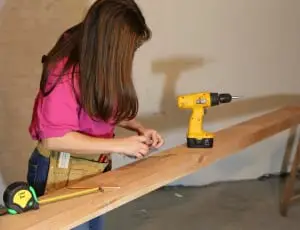
 Measure the width and thickness of the miter base or saw for your DIY miter saw station plans. If the machine table exceeds the framework dimensions, measure the table width. Add 38 mm in depth and 178 mm in diameter to determine the width and length of the platform. Measure the height of the table and decrease the dimensions in mm 19 to ascertain the width of the table. Saw two stands such length and width equal to the diameter of the base. Squeeze the clamps to the bottom, and countersink drill holes throughout the foundation, then fasten components together using screws. To use one pair of extensions for the two machines, measure the height of each table. Reduce the largest dimensions by 19 mm and cut shelves of the width for the two platform bases.
-
Make side extensions:
 Drill two bottom sections of 19 millimeters in the dimensions. (If necessary, you can change the length of the expansion, depending on your needs and availability.) To suspend the wall extension (if not in use), drill both 25-mm holes. Then they saw from the six shelves 152 mm in length and the same width as the platform carrier.
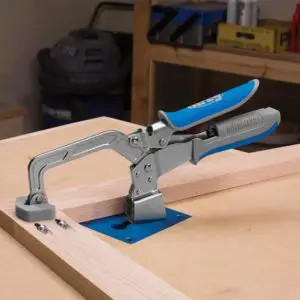
Next, I drank two clamping plates of the same size and set them aside. Now push the stand into the bottom of the clamp and align the center stand in the center of the drilled pilot holes and tighten the screws.
-
Add Top Shelf:
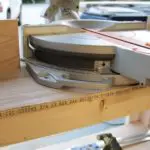
 Place the platform base on the workbench and place the machine on top and align it in the middle. Position one of the branches near the platform, as shown. Measure the distance from the outside of the distant column D to the edge of the machine table. You-saw two top shelves E of this length and 152 mm width.
To use the extension with both devices, measure the distance from the far post to the edge of the table for each of them and cut the shelves into smaller sizes.
-
Install Clamp Plate:
 Position the extension near the two platform bases, aligning the front. Take the previously cut clamping plates F and place them on the inside of the one-pillar rails, aligning with the leading edge.
Now press the pairs of adjacent columns and the clamping plates together, grip the upper shelves of the hole, clean them, and fasten the plates with screws. See More
-
Secure and align the device:
 Use the clips to attach the attachments to the platform base. Replace the device and align it in the center of the base width. After pressing the long smooth bar on the machine stop, adjust the machine position to align the rear edge of the bar with the end edges of the upper shelf.
Make sure the edges of the molding and the shelf are parallel. Now remove the toolbar and extension. Mark the centers of the mounting holes to mount the machine, and remove the tool. Then drill a hole in the platform. The countersink is underneath and secured with the countersunk machine screws and added washers and nuts.
-
Make Mobile Stops:
 Define the width of G movable stop for miter saws by measuring the distance from the front edge of one of the extensions on the front end of the table. The width of the mobile stop H for your slotting machine is determined by the distance from the leading edge of the expansion to the middle of the piece. Assess the gap in the center of the table into the interior of stand D closest to the platform foundation to determine the length of the movable stops. When you have found the sizes, you will see a fly made from 19-millimeter material.
Secure the clamping platform on the workbench together with the machine. Then, clamped on both sides to expand, adjust them to the front edge of the platform, and insert the strut in the platform between the columns of the extension. Now, this is the DIY Table for your miter saw, build the table for the miter saw; Fit it correctly in your workstation and enjoy your job site working. And do not forget to wear all types of safety equipment before using your saw machine.
FAQs:
Q: How do I know if I need a DIY table plan?
A: If you’re looking to make accurate angled cuts using your miter saw, then a custom-built workbench might be the best way to go. Not only will it provide secure support for your material while you cut, but the adjustable fence and other features can make it easier to get consistent results with your miter saw.
Q: What materials are needed for a DIY table plan?
A: The materials required for a DIY miter saw table plan will depend on the specific design you choose. Generally, you’ll need wood, screws, nails, and some type of finish (paint or stain). In addition, most plans also include instructions for adding an adjustable fence and other features that can help improve accuracy while cutting.
Q: Where can I find DIY table plans?
A: There are many online sources for finding DIY miter saw table plans. Some popular places to look include websites such as Instructables, Pinterest, and YouTube, or you can purchase plans from woodworking magazines or stores. Additionally, many home improvement stores offer free miter saw table plans with the purchase of a miter saw.
Q: How long does it take to build a DIY miter saw table plan?
A: The amount of time needed to construct a DIY miter saw table plan will depend on the complexity of the design. Generally speaking, it shouldn’t take more than a few hours to put together all the necessary components. If you’re working with detailed instructions and have all your materials ready ahead of time, then the process should be relatively quick and easy.
Related Articles:
7 DIY Table Plans for Miter Saw
best portable miter saw stand
How to Build a Dust Collector?


