

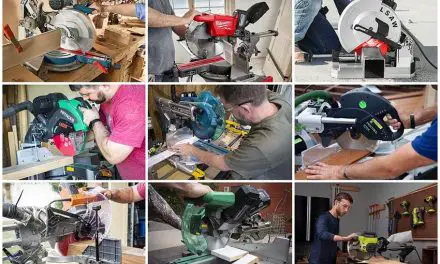
Woodworkers sometimes face lung problems with wood dust. A lot of woodworkers already have permanent lung damage problems. Because all day long there had been breathing wood dust. So that’s the most important reason for building a dust collector for a miter saw. From this lesson, we’ll learn how to build a dust collector for a miter saw.
You can build many dust collectors in many ways but an effective dust collector works very well with airflow management. So before starting to make a dust collector you should ensure it can provide 1-2 horsepower. Sometimes only a vacuum cannot pick up all the dust so you just not only need to move a large volume of air but also a shop vac or hood you need. So now you will learn about building a dust collector for a miter saw that will be so effective and inspire so many people to do the same in their shop. It will surely protect their health.
How to Build a Dust Collector for A Miter Saw?
Dust collectors are essential tools for woodworkers and other DIY enthusiasts. They help keep the workshop clean and reduce airborne dust particles, which can be very harmful to health over time. If you’re looking to up your miter saw game, a dust collector is an absolute must-have. But how do you build one that will get the job done right? This article will break down everything you need to know about building a dust collector for your miter saw so that you can tackle even the most challenging projects with ease. Let’s get started!
Materials Needed:
Before we jump into how to construct a dust collector, it’s important to know what materials you will need. Generally, the materials for a dust collector is reasonably short and straightforward. Here is everything you will need:
- A miter saw
- 4 inch diameter PVC pipe – 4 inch diameter PVC end caps
- 4 inch hose clamps
- 6 foot long dust collection hose
- Power drill with ½ inch bit (or larger)
- 2 wood screws or drywall with matching screws
1. Constructing the Frame and Fitting the Pipe:
The frame of your dust collector will be made out of four pieces of PVC pipe cut 12 inches in length each. Use a power drill with a ½ inch or larger bit to drill four holes in the ends of each pipe, two on one side and two on the other. Secure the pieces together with wood screws or drywall screws.
Next, fit two end caps onto each end of your frame, making sure they are securely fastened with hose clamps. This will form the basic shape of your dust collector.
2. Attaching the Hose and Miter Saw:
Now it’s time to attach the hose that will transport all of that pesky sawdust away from your miter saw and into a collection container such as a bucket or canister vacuum. Take the six-foot long dust collecting hose and connect one end to your frame using a 4 inch diameter hose clamp.
Connect the other end of the hose to your miter saw. To do this, you’ll need to drill a hole in the base or stand of your saw using the same power drill and bit as before. Once you have a hole, insert the hose firmly and secure it with another 4 inch diameter hose clamp. You can also use zip ties if needed for additional support.
3. Testing Your Dust Collector:
Once all the pieces are connected, it’s time to test out your dust collector! Make sure everything is properly connected and turn on your miter saw. The dust should begin traveling through the frame and into the collection container thanks to its powerful suction capabilities. If not, double check all your connections and make sure that the hose is firmly in place.
Building a dust collector for your miter saw is an easy process that requires minimal materials and effort. By following the steps above, you can create a powerful dust-collecting tool that will help keep your workshop clean and safe while also improving your productivity levels. With these tips in mind, now you’re ready to tackle even the toughest projects with ease! Good luck!


