
We already pointed out that a miter saw is a saw that can cut a board or wood. So, it can cut across the board at a 90-degree angle, 45-degree angle, or even a lot of various other angles based on your demand. But one point it can not do is rip a board up and down; it’s not just safe. It needs an experienced person hand to use this type of saw tool. Now, the genuine concern is, how to use a miter saw at the workplace.
What is a miter saw?
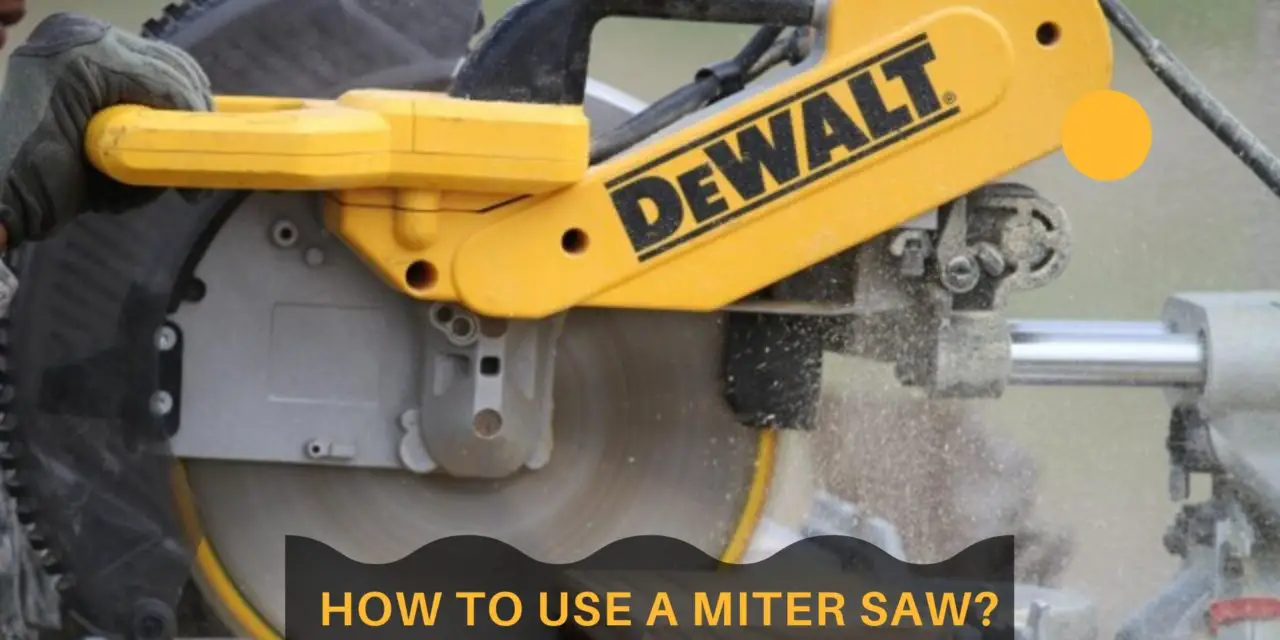
Miter saws are ideal for those who need to make precision cuts at specific angles, such as furniture makers or carpenters. A miter saw is a tool used to make precise crosscuts and miters in different materials such as wood, plastic, and metal. It is an essential tool for any woodworking project. The miter saw consists of a circular blade mounted on an arm that can be moved up or down to adjust the cutting angle. This allows the user to make precise angled cuts with ease.
The most common type of miter saw is the compound miter saw which can rotate in two directions – left and right – allowing users to make both simple and compound angle cuts. In addition, it also comes with a tilting head for making beveled cuts at different angles. There are several types of blades available for use with the miter saw, allowing users to cut through a variety of materials.
Guides About How to use a miter saw for beginners?
A miter saw is an incredibly versatile and powerful tool that can be used in a variety of different projects. From cutting perfect angles and precise lengths, to trimming moldings and making cross-cuts, the miter saw is a must-have for any serious DIYer or professional contractor. For those who are just starting out with this tool, it can be overwhelming when trying to figure out how to use it correctly. This guide will provide you with all the information you need to get started using your miter saw like a pro.
Safety Tips:
1. Before getting into the specifics of how to use your miter saw, it’s important to cover some basic safety tips.
2. Always wear protective gear, such as safety glasses, ear protection, and a dust mask.
3. Make sure to keep your work area clean and clutter-free at all times.
4. Read the owner’s manual that came with your miter saw thoroughly before using it.
5. Inspect the saw blade for damage or dullness before each use.
6. Take special care when cutting material that is potentially hazardous, such as lead paint or asbestos.
7. Never reach over or around the saw while it is running; always turn the power off first.
Understanding Miter Saw Parts and Terminology
Before you can begin using your miter saw, it’s important to understand the various parts and terminology associated with it.
Miter Saw Table – This is the flat surface of your miter saw where you place your workpiece.
Blade Guard – This part covers and protects the blade when the saw is not in use.
Fence – The fence guides your material along as you make a cut and helps create accurate cuts every time.
Bevel Scale – This scale indicates the angle of tilt for your saw blade.
Miter Scale – The miter scale allows you to set precise miter angles easily; refer to your owner’s manual for specific angles.
Miter Lock Handle – This handle locks the miter saw into place when you need to make an angled cut.
On/Off Switch – This switch turns your miter saw on and off.
Setting Up Your Miter Saw
Now that you understand the parts of a miter saw, it’s time to get it set up for use.
1. Unlock the fence and move it away from the blade so you have plenty of room to work.
2. Place your material firmly against the fence, making sure to line up the mark where you want to cut with the edge of the blade guard.
3. Securely lock the fence in place.
4. Adjust the bevel scale to the desired angle; refer to your owner’s manual for specific angles.
5. Set the miter lock handle at the desired angle by referring to your miter scale; make sure you double-check that it is secure.
6. Ensure that all other parts of your saw, such as the blade guard and dust collection bag, are properly attached and adjusted.
Making Accurate Cuts with Your Miter Saw
Now you’re ready to start making accurate cuts with your new miter saw! Here are a few tips for getting clean, precise cuts:
1. Work slowly and steadily when pushing the material through the saw; never rush.
2. Use the built-in laser guide to help you line up your mark correctly before making a cut.
3. Always use a push stick when cutting smaller pieces that are too short to hold onto with your hands.
4. Be sure to keep your fingers and other body parts away from the blade at all times; never reach over or around the saw while it’s running.
5. Make sure that all clamps, jigs, and fixtures are securely in place before making a cut.
6. When possible, always use a miter saw stand in order to safely support larger materials as they move through the saw.
Cleaning and Maintenance Tips for Your Miter Saw
It’s important to properly maintain your miter saw in order to keep it running at peak performance. Here are a few cleaning and maintenance tips:
1. Always unplug the miter saw before cleaning or performing any type of maintenance.
2. Clean off any debris from the blade, table, and other parts of the saw with a soft brush or damp cloth.
3. Sharpen the blade regularly for optimum cutting performance; this can be done with a file or special sharpening stone.
4. Inspect all parts of the miter saw for wear and tear and replace them as needed.
5. Make sure that moving parts such as pulleys and belts are lubricated regularly according to your owner’s manual.
6. Perform a safety check before each use to ensure that your miter saw is in good working condition.
Using a miter saw can be intimidating at first, but with the right understanding of how it works and proper maintenance, you’ll be able to make accurate and precise cuts every time! Always remember to turn the power off first and take all necessary safety precautions when using this powerful tool. With practice, you’ll soon be making perfect cuts like a pro!
Miter Saw: Let’s Study Deep:
Materials Needed
There are a couple of materials, equally as protective apparatuses and also hardware, you have to get for you to focus and also function in the miter saw. Below are the things you need:
- A Miter Saw
- Practice Wood Blockage
- Working Table
- Security Glass
- Safety and security Handwear covers
Some typical parts of the miter saw
- A guard and also a blade: The guard protects the blade, naturally, and when we hold the saw to cut, the guard vacates the way automatically.
- Fencing: The fence is where we hold our board against the blade. It aids to maintain the board steady, stable & straight as you make your cut.
- Miter Scale: It’s the angle gauge on the table. It helps in crossing the board. There is a liver to transform the table as well as loosen up to set the angle we require.
- Beveled Gauge: Now, the bevel gauge is under the blade. It helps you to measure the tilt of your blade.
- Handle & cause: When we operate the saw, hold the handle & press the trigger to run the saw.
How to Use a Miter Saw for Beginners to Cut Angles?
How to use this saw to cut angles? This concern is knotted on lots of DIY discussion forums, with no actual response. On the other hand, some grievances about the imprecision of the lasers, badly positioned according to them. This is not so; a miter saw makes ideal cuts and, the lasers are well-positioned. Let’s see how we should proceed. You should recognize that the blade does not cut in the middle of the pencil line you made: the saw blade needs to cut on the outside side of this line. For some, the laser is positioned on the left of the blade, and the beyond the cut is as a result on the right.
Now you need to comprehend some computation for cut angles.
- If you establish 0 measurements to your miter saw that suggests you will certainly cut a 90-degree angle.
- If you set 10 dimensions that suggest it will reduce the 80-degree angle.
- If you set 20 dimensions that means it will cut a 700-degree angle.
- If you establish 30 measurements that indicates it will reduce the 60-degree angle.
- If you set 40 measurements that implies it will certainly cut a 50-degree angle.
- As well If you set 45 dimensions to your miter saw that indicates it will cut a 45-degree angle.
Using a miter saw can be intimidating if you’ve never used one before. However, with the right knowledge and practice, you can become an expert in no time. It’s important to read the manual thoroughly and understand all safety precautions before starting any project with your miter saw. Make sure that you secure the workpiece onto the fence securely and use a proper blade guard for protection. Once you get comfortable using your miter saw, it will become an invaluable tool in any woodworking project. With its precision cutting capabilities, you’ll be able to make cuts much faster than with traditional hand tools. So sharpen up your skills today and start making beautiful projects!


