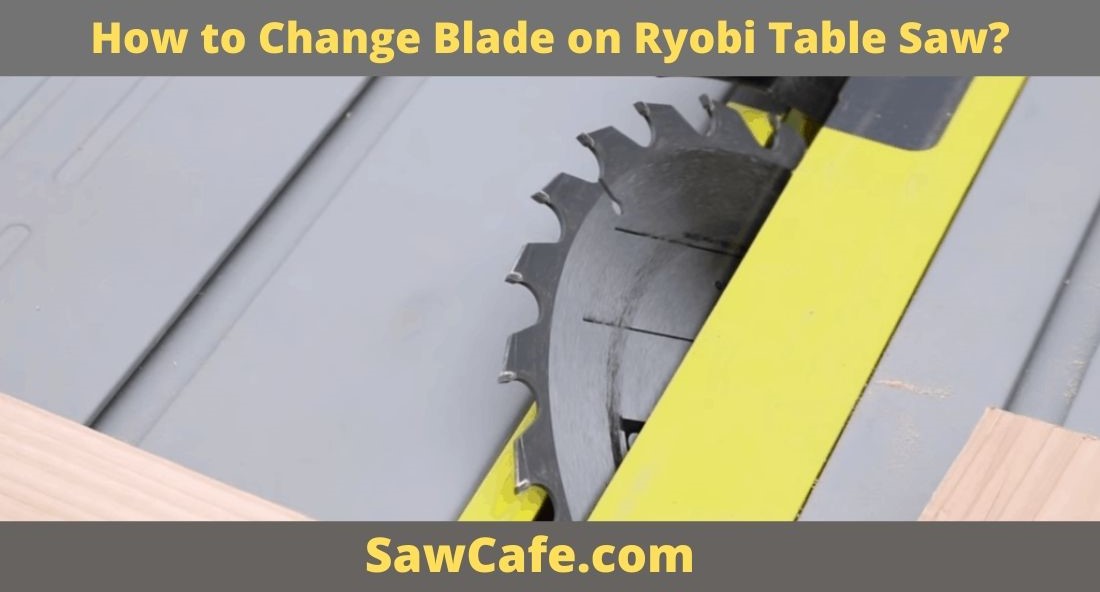
Change Blade on Ryobi Table Saw by following these easy steps. First, gather the necessary tools and materials for the job. Next, ensure the table saw is completely powered off and disconnected from any power source to prevent accidents. Remove the old blade guard carefully, exposing the blade. Using the correct wrench, loosen the arbor nut that secures the blade in place. Once loose, remove the old blade and set it aside. Now, it’s time to install the new blade, making sure it’s aligned properly with the teeth facing the right direction. After the new blade is set in place, tighten the arbor nut securely to hold the blade. Reattach the blade guard to keep everything safe and in place. Finally, reconnect the table saw to the power and turn it on to ensure everything is functioning correctly.
Now, let’s begin the process of changing the blade on your Ryobi table saw in details.
How to change blade on Ryobi table saw
The steps below will walk you through the process of changing the blade on your table saw.
1. Unplug the table saw
Usually, we do advise that you unplug your machine from all electrical outlets before you do anything on it. It is even more important to do so when handling a machine with a sharp blade. Failure to do so may result in a severe injury.
Ryobi 10-inch table has a red button for the power switch. You can disengage the red power button in question as an additional safety precaution. In other table saws, you can switch the button off. Nevertheless, the most important step is to disconnect the machine from its electrical outlet.
2. Remove the blade guard
There is a red guard protecting your saw blade. The guard has two screws on it. Unscrew them with a Philips screwdriver. By the way, a Philips screwdriver is another important tool that is advisable to have in the workshop.
When removing the screws, try not to drop them because if you do, they will fall into the blade storage area, which may be impossible to retrieve. After unscrewing the guard, remove it and keep it aside. You will need it again for the protection of the new blade.
3. Raise the saw with the lever
There is a lever underneath the tabletop. Turn the lever continuously to raise the saw until you get it to the highest position.
4. Make use of the wrenches
When the saw is at the highest position, use one wrench with an open-end to hold the shaft that the blade is installed on firmly. This shaft is called an arbor. At the other end of the arbor, there is a nut with a washer. You can call the nut an arbor nut.
While using one wrench to hold the arbor, use the other to unscrew the arbor nut. Now, be careful when trying to unscrew this nut because the blade is very sharp. Any slip of the hand will make you get cut by the blade.
If you have to perform this task gently to avoid hurting yourself, you can use a hammer to tap the wrench lightly to loosen the arbor nut. You can even wear thick gloves for this purpose.
5. Use your fingers to unscrew the nut
When you observe that the nut moves freely, it means that you have loosened the nut. Use your fingers now to unscrew the nut completely. It is more convenient using the fingers than maintaining the wrench. Remove the washer. When removing both the arbor nut and the washer, ensure that you don’t drop them. Otherwise, you will have to get new ones if they fall into the saw’s storage area.
6. Remove the blade
It is now easy to remove the blade. Remember that the blade is sharp. So, you may want to be careful with that too. Remove your saw blade gently.
7. Install the new blade
Now that you have successfully removed your saw blade, you can install the new one. There’s a tip for fixing the blade correctly. The top of the blade (that is the side with an inscription) should face outward.
Another way to understand this tip better is by installing the blade with its teeth facing you. The saw has a rotational pattern. It spins towards you when feeding material through it. You can also say that the saw blade rotates clockwise.
8. Fix the washer
After installing the new blade, fix the washer on the arbor. That is the part that extends outward. We believe that you can remember how you removed it.
9. Screw the arbor nut using your fingers
Screw the arbor nut using your fingers. You cannot tighten the screw with your fingers, but ensure that it fits snugly.
10. Tighten the arbor nut with the wrench
After using your fingers to screw the arbor nut as much as you can, tighten it with the wrench. Remember that you need to be careful because of the sharpness of the blade.
11. Lower the blade
After securing the blade with the arbor nut, use the lever on the side of the saw table, beneath the tabletop, to lower the blade. Let it get to its lowest point.
12. Protect the blade with the guard
Place the blade guard in its right position. Use your Philips screwdriver to tighten the two screws on the blade guard. Now, you can start working with the new blade.
Watch More on this Video:
Final Verdict
You should know how to change the blade on a Ryobi table saw easily if you follow the steps we provided in this write-up. Don’t worry if the steps or parts of the saw blade are strange to you. Learning the parts of a table saw will make it easier for you to comprehend.
Do you know that there are different types of saw blades? Well, use this procedure when changing any saw blade. If you need to buy a new blade or any component for your table saw, we recommend you visit a few well known online stores, you can get quality products at affordable prices.

