
To use a wet tile saw, you need to follow these steps: fill the reservoir with water, adjust the blade to the desired angle and depth, turn on the saw, slowly feed the tile into the blade, and make your cuts with steady and controlled movements. When it comes to cutting tiles accurately and efficiently, a small wet tile saw is a must-have tool.
Learning how to use a small wet tile saw properly can help you achieve precise cuts for your tile installations. Whether you’re a professional contractor or a DIY enthusiast, understanding the steps involved in operating a wet tile saw will enable you to tackle any tile-cutting project with confidence.
We will provide you with a concise guide on how to use a small wet tile saw effectively, ensuring that you can achieve clean and precise cuts every time. Get ready to learn the essential steps for using a wet tile saw and take your tile-cutting skills to the next level.
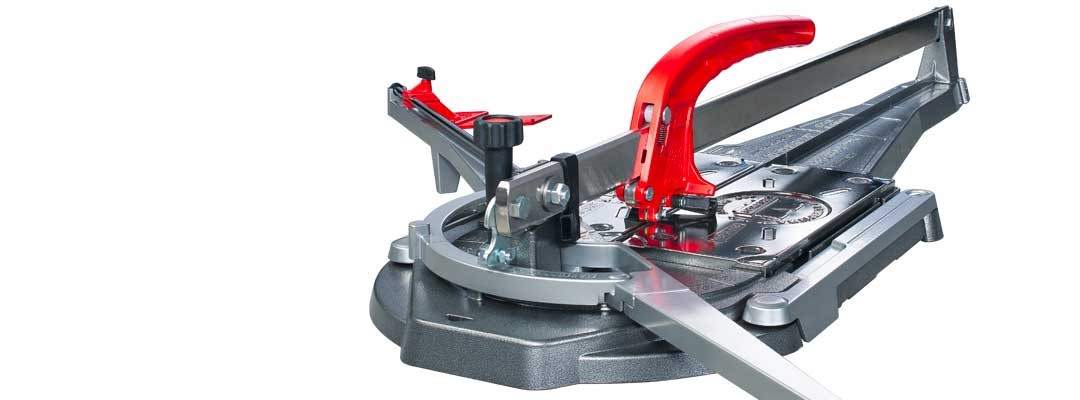
Credit: www.montolit.com
1. Types Of Wet Tile Saws
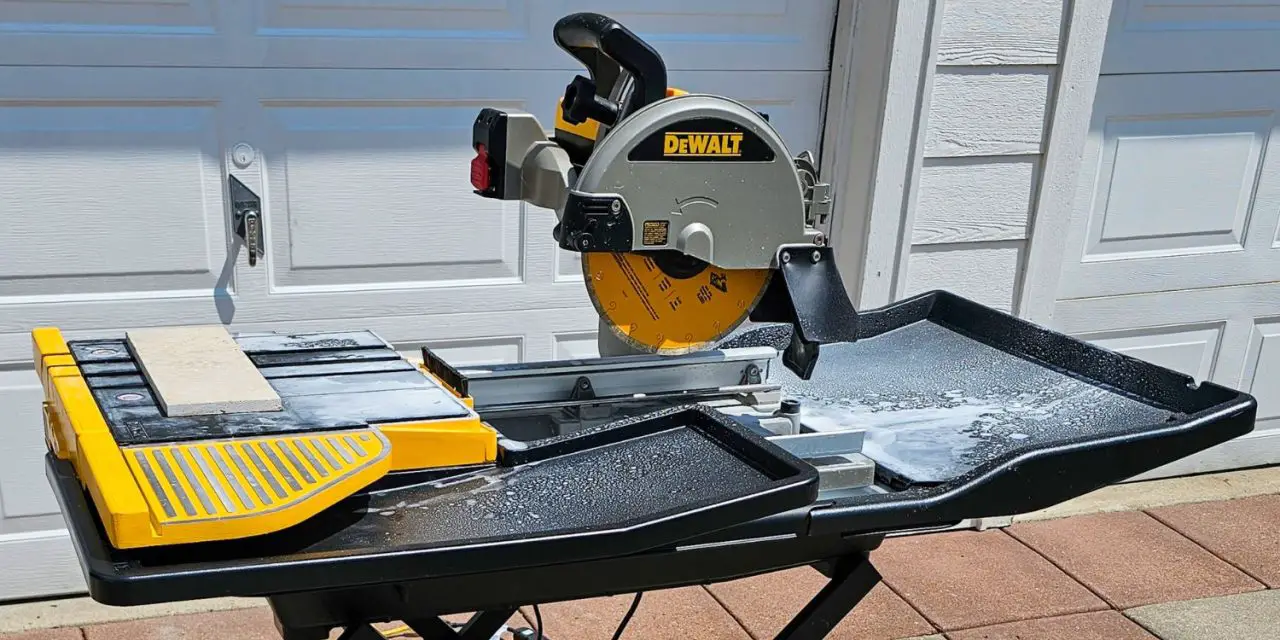
There are different types of wet tile saws available for various cutting needs. These saws include handheld wet tile saws, tabletop wet tile saws, and sliding wet tile saws. Handheld wet tile saws offer portability and versatility for smaller projects.
Tabletop wet tile saws are compact and suitable for cutting smaller tiles. Sliding wet tile saws come with a sliding table for cutting larger tiles or making longer straight cuts. Each type of saw has its own advantages and is designed to meet specific cutting requirements.
It is important to choose the right wet tile saw based on the size and type of tiles you are working with.
2. Understanding How A Wet Tile Saw Works
Understanding how a wet tile saw works is crucial for using it effectively. The working mechanism of a wet tile saw involves the use of water to cool down the blade and prevent heat buildup. This not only extends the lifespan of the blade but also improves the quality of the cuts.
Wet cutting is preferred over dry cutting because it reduces dust and debris, making it safer and cleaner. The water also lubricates the blade, allowing it to glide smoothly through the tile. By following the proper steps and precautions, you can achieve precise and clean cuts using a wet tile saw.
3. Bevel Cuts With A Wet Tile Saw
To make bevel cuts with a wet tile saw, follow these step-by-step instructions. First, ensure you have the correct blade installed on your saw. Adjust the bevel angle on the saw according to your desired cut. Place the tile on the saw’s cutting table and secure it in place.
Turn on the saw and slowly feed the tile into the blade, maintaining a steady and controlled motion. Make sure to wear protective eyewear and gloves during this process. Once the cut is complete, turn off the saw and carefully remove the tile.
Clean up any debris and you’re done! By following these guidelines, you can achieve precise bevel cuts with a wet tile saw.
4. Features Of A Wet Tile Saw
When using a wet tile saw, it’s important to consider the features of the tool. Firstly, look for a diamond-encrusted blade, which ensures smooth and precise cuts. Additionally, check if the saw has a reservoir for water, as it helps keep the blade cool and minimizes dust.
Another important feature is an adjustable cutting surface, allowing you to make bevel cuts at different angles. Some wet tile saws also come with a jig to hold the tiles securely in place during cutting. Lastly, consider the size and portability of the saw, as well as its power source.
By taking these features into account, you can choose the right wet tile saw for your needs and achieve professional-quality results.
5. Cutting Tile At An Angle
To cut tiles at various angles using a wet tile saw, follow these tips for precise cuts. Firstly, position the tile securely on the saw bed and adjust the cutting blade angle as required. Use a straightedge or a miter gauge to guide the tile along the blade for accurate cuts.
Make sure to hold the tile firmly and apply gentle pressure to cut at the desired angle. When cutting tiles at an angle, take into consideration the shape and size of the tile to ensure a clean and professional-looking finish.
Practice patience and make slow, steady cuts, adjusting the blade angle as needed. Remember to wear protective gear and keep the work area clean for safety. Mastering the techniques of cutting tiles at various angles will enhance your tile installation projects.
6. Straight Cuts With A Wet Tile Saw
To make straight cuts using a wet tile saw, proper alignment and measurement techniques are essential. Begin by ensuring that your tile is securely placed on the saw’s table. Use a straight edge or a guide to mark the desired cut line on the tile.
Align the mark with the saw’s blade, making sure it is parallel to the cutting surface. Use light pressure to guide the tile through the blade, allowing the saw to do the work. Maintain a steady hand and move the tile at a consistent speed to achieve a smooth, straight cut.
Remember to wear protective goggles and gloves while operating the wet tile saw for safety purposes. With practice, you will become more efficient in making straight cuts with a wet tile saw.
7. Cutting Glass Mosaic Tiles
Cutting glass mosaic tiles with a wet tile saw requires caution to prevent chipping and breaking. Follow these guidelines: 1. Ensure the saw blade is specifically designed for cutting glass tiles. 2. Use a slow cutting speed to minimize the risk of chipping.
3. Place a piece of masking tape on the tile’s surface before making the cut. This helps reduce the likelihood of chipping. 4. Hold the glass tile securely against the saw’s fence and feed it slowly through the blade. 5.
Use water to keep the blade cool and lubricated during the cutting process. 6. Consider practicing on a few scrap tiles before cutting the actual glass mosaic tiles. By following these tips, you can safely cut glass mosaic tiles with a wet tile saw and achieve clean, precise cuts without damaging the tiles.
8. Applying The Cut On The Tile
When using a wet tile saw, it is essential to apply the cut on the tile with precision and accuracy. To achieve this, follow these step-by-step instructions: 1. Measure and mark the desired cut on the tile using a straight edge and a pencil.
2. Ensure that the tile is securely placed on the saw’s cutting surface. 3. Align the marked line with the saw’s blade, keeping a firm grip on the tile. 4. Slowly, but steadily, push the tile towards the blade, allowing it to cut through the surface.
5. Maintain a steady pace and apply even pressure to prevent any chipping or uneven cuts. 6. Once the cut is complete, carefully remove the tile from the saw, ensuring that it is not damaged. 7. Repeat the process for any additional cuts needed.
8. Always prioritize safety by wearing protective eyewear and gloves while using the wet tile saw. Following these instructions will help you achieve precise and clean cuts when using a wet tile saw.
9. Tips And Tricks For Using A Wet Tile Saw
Using a wet tile saw can be a game-changer when it comes to achieving professional-looking tile installations. Here are some additional techniques and hacks to help you get the best results. First, make sure you have the right blade for the job and that it is properly installed on the saw.
Next, always wear safety goggles and gloves to protect yourself from any potential accidents. Keep your workspace clean and free of debris to prevent any interference with the cutting process. When making cuts, take your time and let the saw do the work, avoiding any unnecessary force.
Additionally, measure twice and cut once to ensure accuracy. Finally, practice on scrap tiles before tackling your actual project to get a feel for the saw and gain confidence in your cutting abilities. By following these tips, you’ll be well on your way to using a wet tile saw like a pro and achieving impeccable results.
Frequently Asked Questions On How to Use a Small Wet Tile Saw?
How Do You Cut Tile With A Wet Saw?
To cut tile with a wet saw, follow these steps: 1. Ensure the wet saw has a diamond blade installed. 2. Fill the saw’s reservoir with water to create a continuous flow over the blade. 3. Position the tile on the saw’s table, aligning the cut line with the blade.
4. Slowly push the tile towards the blade, allowing the water to cool the blade and lubricate the cut. 5. Keep steady pressure on the tile as it moves through the blade. 6. Once the cut is complete, remove the tile from the saw.
Remember to wear safety goggles and follow all manufacturer’s instructions when using a wet saw.
Do You Have To Use Water With A Wet Tile Saw?
O keep it cool and prevent overheating.
Is It Better To Wet Cut Or Dry Cut Tiles?
Wet cutting is better for tiles. Wet cutting requires water to cool the blade and reduce dust, resulting in smoother and cleaner cuts.
Conclusion
To achieve precise and clean cuts when using a wet tile saw, it is essential to follow the correct procedures. This article has provided comprehensive guidance on how to use a wet tile saw effectively. By understanding the different types of wet tile saws available and how they work, you can make informed decisions about which one suits your specific needs.
Additionally, the instructions on bevel cuts, cutting tile at an angle, and using the proper techniques for straight cuts, glass mosaic tiles, and advanced cuts will ensure that you achieve professional-looking results. Remember to prioritize safety by wearing protective gear and maintaining a continuous flow of water over the blade to prevent overheating.
By applying the knowledge and tips shared in this guide, you’ll become proficient in using a wet tile saw and accomplish your tile installation projects with ease and precision.


